GIMP?
GIMP is a very well equipt piece of open source software that in many ways rivals Photoshop. It’s generally my go to piece of software for editing pictures that need some full-fledged editing rather than a simple crop or adjustment of colours. GIMP has all the tools that I need but sometimes I can’t find out how exactly to do a specific function that I know it must be able to easily do, roll on layer masks …
Layer Masks
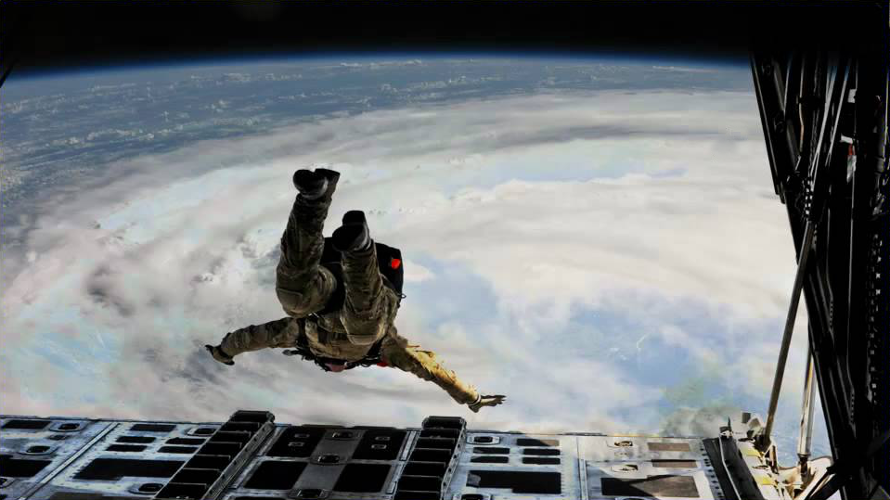
Adding a layer mask allows you to create an alpha channel in your image and so blend two pictures together such as paratroopers space diving out of a C-130J Hercules, something that unfortunately, you just can’t do in real life. Until this point I had either done the typical cutting around the image, or used the smart scissors technique to make my layer mask. Whilst this works well for many projects, I found that it didn’t work well for complex masks or ones with soft edges like people’s hair and clouds where the edges are far less well defined.
The trick with this layer mask is to create a mask out of a duplicate of the image using a gray scale. This can lead to a subtle edge and so a realistic alpha channel. Following these steps will get you through the process, or If your more of a video person click away on the video at the bottom of this post.
How to
- Bring in the picture you want to edit by just dragging the picture into the main GIMP frame
- Add a transparency channel to the picture Layer>Transparency>Add Alpha Channel
- Duplicate the layer Layer>Duplicate Layer
- You can see that this has worked by heading over to the right hand tool bar
- click on the icon with three white sheets
- Here you can see the same image in layers one and two
- You can see that this has worked by heading over to the right hand tool bar
- Check that you have layer one selected
- Follow sub steps of point 3
- Left click on layer one
- Desaturate the image Colors>Desaturate
- Setting here don’t really matter, if you want to try and get the best contrast between what you want to mask and the background
- Increase the contrast to as black and white as possible Colors>Brightness-Contrast
- Try and make things as black and white as possible between the mask and the background
- Going too far may lose a bit of detail
- Loop through step six quite a few times to achieve the best results
- Invert the colours Colors>Invert
- Touch up the mask
- Colour anything that you want to keep that was missed by this process white
- Colour anything that you want to colour to alpha that was kept by this process black
- Cut the layer Edit>Cut
- Now the original coloured image will show
- Add the layer mask (white full opacity) Layer>Mask>Add Layer Mask
- Make sure that White (full opacity) is selected
- Click Add
- Select layer one
- Follow sub steps of point 3
- Past in custom mask Edit>Paste
- You should see your new alpha channel
- Anchor layers Right click on layer one>Anchor Layer
- Image can now be exported etc.
- File>Export
- e.g. save as png
Video version
Not my doing, but a very informative video of how to do this type of mask.